 I promised I'd post the recipe for the birthday cake I made for hubby Jan's big birthday celebration recently, which I wrote about here.
 So here it is - it's simply a very big Victoria sponge cake with butter icing - lots of it. It went down a treat at the party, people seemed genuinely surprised that I'd made it which made me wonder if baking is really going out of style.
There are lots of specialist bakeries now which do amazing things with photos in edible icing on top of the cakes, or cartoon characters, but I guess they rely
 on the technology of edible teeshirt-printing equivalence.
I still prefer the home-made cakes to the shop-bought ones as the home-made variety have more substance and can have a fair bit of style as well - at least that's what I was aiming for, and I hope I achieved it to some extent.
Here goes - not for the fainthearted and have plenty of ingredients in stock - and at least a day to prepare and bake unless you have a couple of roasting tins and a large oven. I don't, so I made one cake at a time, and baked them individually in the same roasting tin, lined with baking parchment. I made three large cakes but only used two and a half - I kept the other half fo
 r a small cake on the actual birthday which was the Saturday after Thursday's party. You can see both cakes - little and large - in this post.
Prepare a sturdy cake board if you don't have one - I cut some strong cardboard from boxes that housed some garden chairs from Lidl, and stuck two big squares together with packing tape and covered them with tinfoil/aluminium foil. The cake board will have to carry a few kilos of finished cake!
Ingredients (for each cake)
- 500gm/1lb Self-Raising Flour (or plain flour
 and 5 teaspoons baking powder)
 - 500gm/1lb Vanilla Sugar (I use normal white/caster sugar kept in a Kilner jar with some vanilla pods - the best flavour and beats concentrated vanilla essence hands down. If yo
 u use essence, get natural vanilla)
 - 500gm/1lb Butter, softened
- 8 Eggs
- 4-5 tablespoons hot water


- Pre-heat oven to 189 degrees Centigrade/350 degrees Fahrenheit
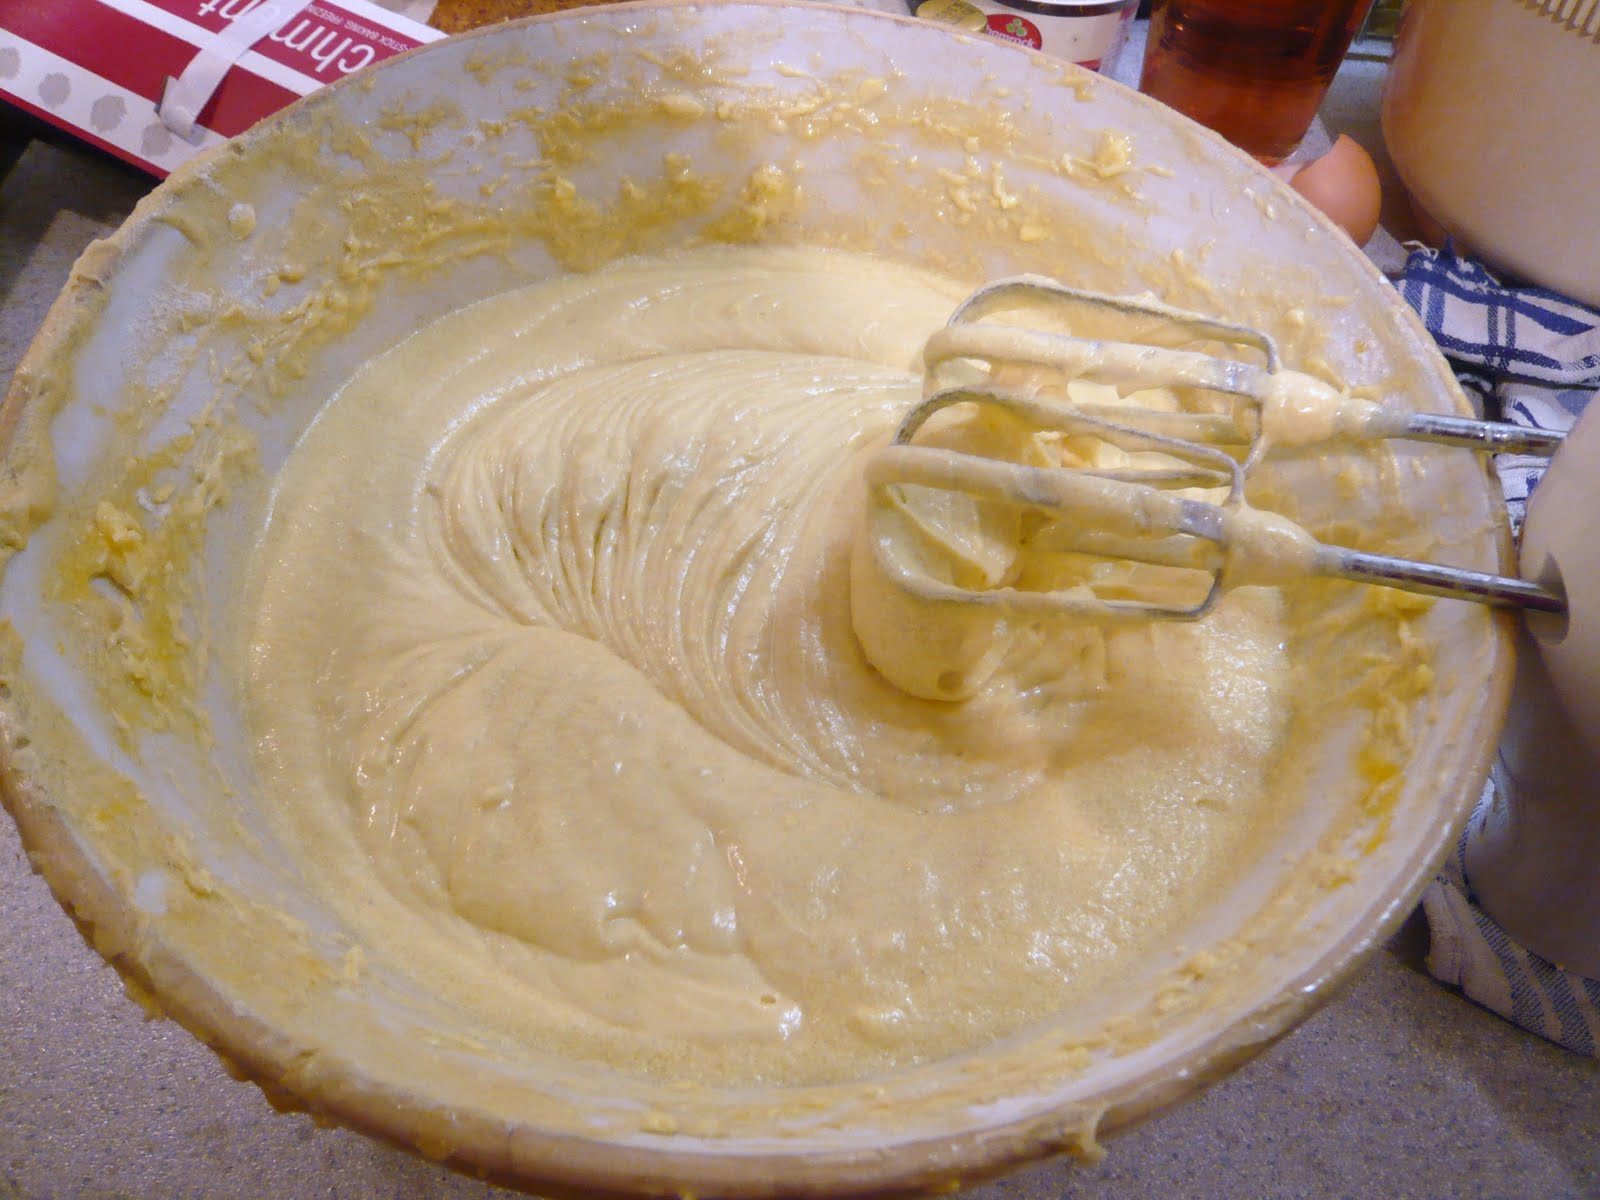
- Place all the ingredients in a large bowl.
- Using a hand-held electric mixer, mix all the ing
 redients to a soft dropping consistency.
 - (You can be purist about this and cream the butter and sugar before adding the eggs and flour slowly - I find the one-step method worked fine and didn't curdle on me. I like short cuts!)
- Spoon the mix into a large square or rectangular tin - a roasting tin is ideal - lined with Baking Parchment (Waxed paper).
- Bake in the centre of the pre-heated oven for 30-40 minutes until well risen and golden brown, and firm in the centre - test with a skewer or knitting needle in the middle, which should come out dry.

- Cool in tin for 10 minutes, then carefully lift out by wax paper and leave to cool on a wire rack.
- Bake two or three of these cakes, then when completely cool, prepare to decorate to your liking.

- 1.5kg/3lbs Icing Sugar
- 750gms/1.5 lbs Butter, softened
- 1 tablespoon Lemon Juice to tone down the sweetness, if liked
- Cocoa powder - if making Chocolate Icing.

- Food Colouring - if making coloured icing
- Instant Coffee dissolved in a little hot water - if making Coffee Icing
- Orange juice and zest - if making Orange Icing

Preparation
- Place one cake upside down on foil cake board, and cut another cake to square if off if you like a square cake. Otherwise a rectangle is fine.
- Spread with Strawberry Jam.
- Spread stiff whipped cream on the jam.
- Place the second cake on top of the cream - right side up.
- Spread butter icing over top and sides of cake.
- Decorate as wished - I used Chocolate icing for piping and writing, and 70% chocolate buttons/chips to decorate border.
Handy Tip
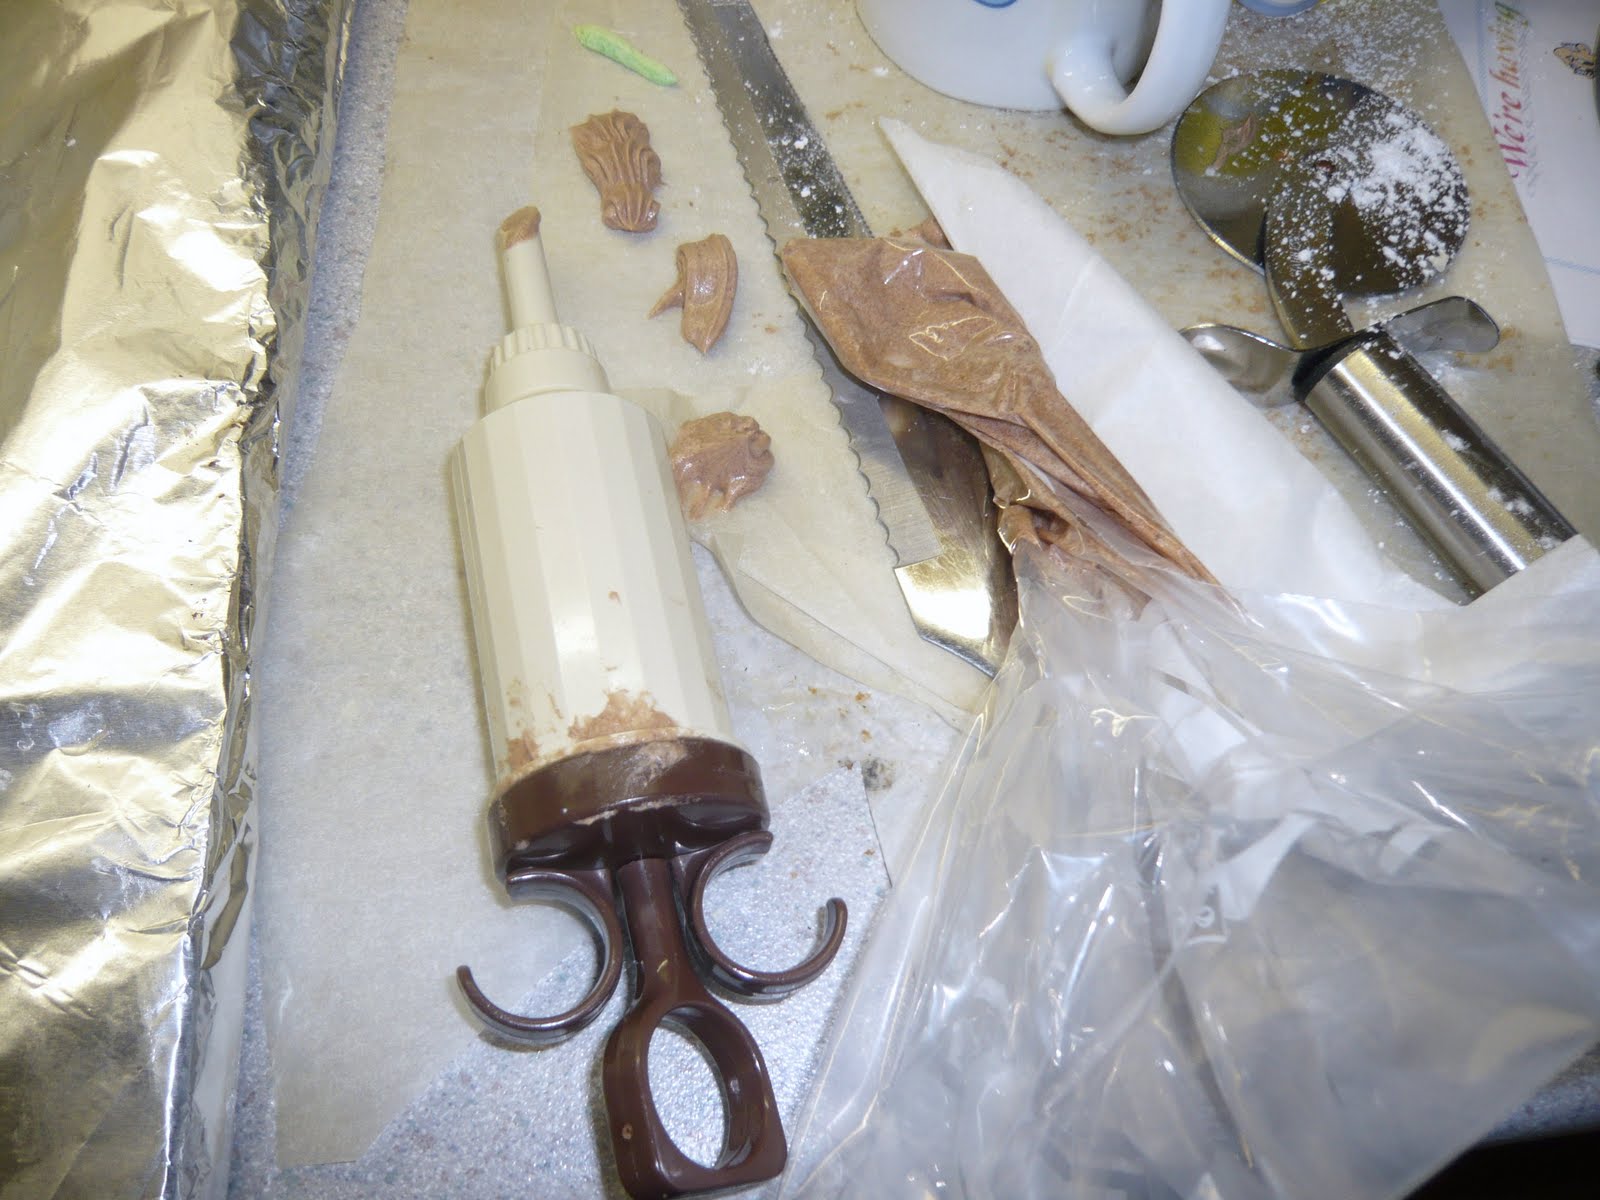
I used a piping syringe and nozzle to pipe the top decorations and then another nozzle for the continuous border around the cake sides near the board.
For the writing I didn't have a fine writing nozzle - lost in the mists of time and the kitchens of Africa or Asia - and I improvised with a freezer bag - put the icing into the bag, a few tablespoons is enough for writing a few words like I did - and snip a very s
 mall bit off the corner so you can squeeze a small trail of the icing through and guide it for writing whatever you wish.
No need for fancy sets, I know you can make greaseproof piping bags, but this was handier as I think you need nozzles for the greaseproof paper bags.
Enjoy the end product - I did enjoy making it, the guests loved it and then we had a small cream sponge cake with the leftovers for the birthday itself, which had a candle per decade!
It keeps well for a few days, once in an airtight tin or wrapped in greaseproof paper.




 Posts
Posts


